Honeycomb Pillow Cover
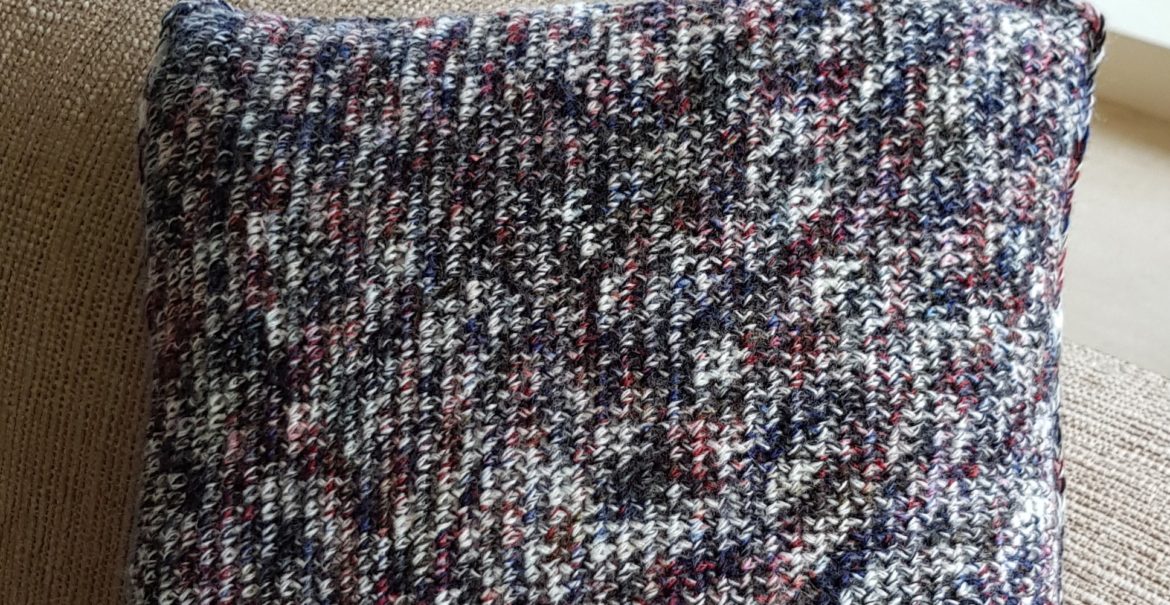
Another easy pattern for you guys. In this post I learn you to make the Honeycomb Pillow Cover and believe me it is really easy.

Materials
- 2 skeins of Ice Yarns multicolor (https://www.iceyarns.com/nl/garen/q.56-120#ajaxitem/nl/sale-self-striping-veelkleurig)
- H/8 or 5 mm hook
- a pair of scissors
- a tapestry needle
- a pillow, mine is 11″ x 11″
Terms used/abbreviations
- ch chain
- sl st slip stitch
- sc single crochet
Notes
- This pattern is written in US terms.
- The chain at the beginning of a row doesn’t count as a stitch.
Pattern
We make a front and a back panel, which we attach to each other later. Start with a single crochet foundation chain as wide as your pillow. If you need some help by creating this foundation chain, you can follow my tutorial by clicking this link https://2loopz.com/how-to-make-a-single-crochet-foundation-chain/
If you don’t want to start with a single crochet foundation chain, just make a chain and sc in every stitch across. Work in the back bumps of your starting chain.
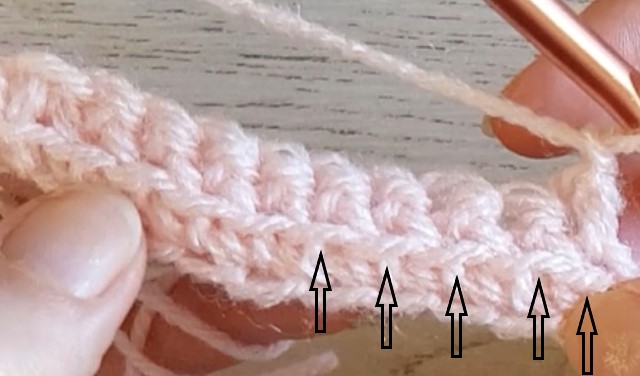
Row 2: Ch 1 and turn your work. Drop down to the bottom of your foundation chain and pick up the bottom loop from bottom to top and pick up the front loop of the top stitch, also from bottom to top (see picture below). Yarn over, pull through, yarn over and finish as a normal sc. Repeat this to the end of the row.

Row 3: Ch 1, turn your work. Repeat row 2.
Row 4: Ch 1, turn your work. Now we pick up the horizontal bar from the middle and no longer from the bottom. You see a line of horizontal bars in the middle of your work. These are the loops we are using this row (see picture below). Pick up the horizontal bar from bottom to top and pick up the front loop of the top stitch, also from bottom to top. Yarn over, pull through, yarn over and finish as a normal sc. Repeat this to the end of the row.
Repeat row 4 until your work is as high as your pillow is.

Leave the yarn attached. Make another panel with a new skein of yarn.
We make a border around each panel, so we can attach them easier together later on. The border is very simple, just 1 sc in every sc en in every row and 3 sc in every corner.
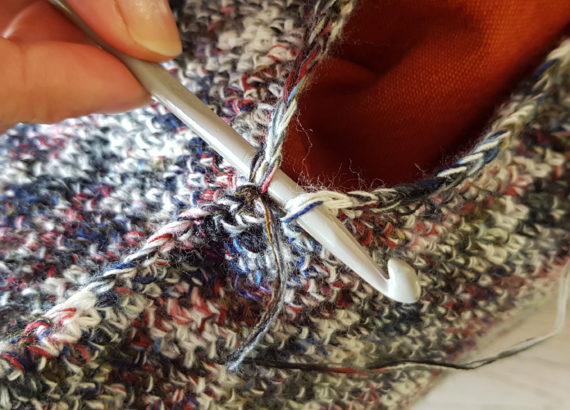
Bind off one panel and leave the yarn attached to the other panel. Now it’s time to attach the front panel to the back panel. Place the 2 panels on each other. You can hold the corners together with a stitch marker. Insert your hook through the corner of the frontpanel and through the corner of the back panel, yarn over and pull through, yarn over and pull through both loops on your hook. You single crocheted them together. Repeat this on 3 sides and leave 1 side open. You can insert your pillow now and then close the 4th side (see picture below).
Close the round with a sl st in the first sc of the round. Bind off and weave in your ends.
And this simple, but fun project is done. Now it’s time to enjoy your work and use your pillow to relax with a nice cup of coffee.
Have fun!


You can also find me on: