Crochet Easter Bunny

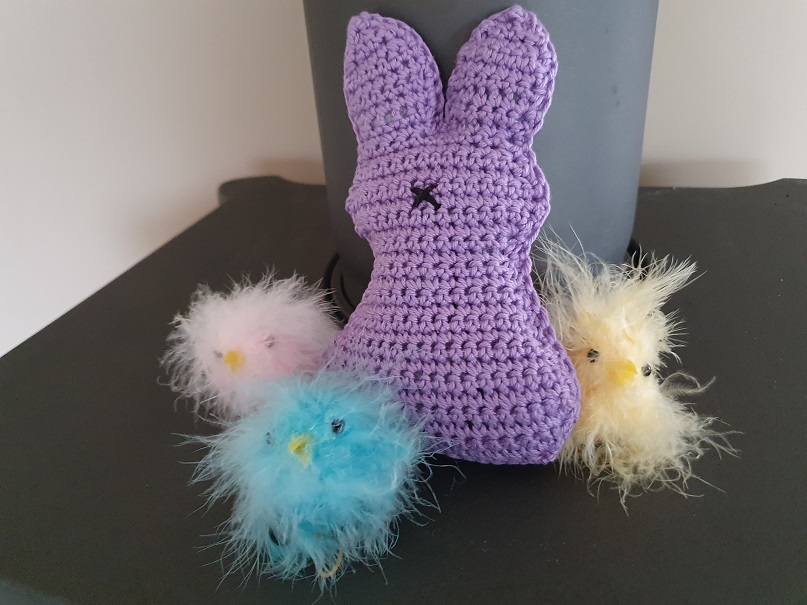
This cute little Easter Bunny wants a nice place in your house. You can also forget the Easter part and make it a gift and give it to a newborn for example. It is an easy pattern that works up really fast with only single crochet stitches. Easy but fun!
Materials
- less than 50 grams of yarn of your choice, I used a number 3 cotton yarn
- Crochet hook one size smaller than recommended on the yarn label
- Black yarn for the nose
- Yarn needle
- Fiberfill
- Scissors
Terms used/abbreviations
- ch chain
- sl st slip stitch
- sc single crochet
- sc2tog single crochet 2 together
Notes
- This pattern is written in US terms.
- The size of the bunny depends on the thickness of your yarn and hook
Pattern
The body
Ch 16 or start with a single crochet foundation chain of 15 stitches. If you want to learn how click on this link: LINK!!!!
Row 1: If you chained 16 then insert your hook in the 2nd ch from the hook and sc in the next 15 chains (15) If you started with a single crochet foundation chain then you can skip row 1 and jump right into row 2.
Row 2: ch1 and turn your work. 2 sc in the first sc, 13 sc in the next 13 sc, 2 sc in the last sc (17)
Row 3: ch1, turn your work. 2 sc in the first sc, sc in the next 15 stitches, 2 sc in the last sc (19)
Row 4: ch1, turn your work. 2 sc in the first sc, sc in the next 17 stitches, 2 sc in the last sc (21)
Row 5-7: ch1, turn your work. Sc in every stitch across (21).
Row 8: ch1, turn your work. Sc2tog in the first 2 stitches, sc in the next 17 sc, sc2tog in the last two stitches (19).
Row 9: ch1, turn your work. Sc2tog in the first 2 stitches, sc in the next 15 sc, sc2tog in the last two stitches (17).
Row 10: ch1, turn your work. Sc in every stitch across (17).
Row 11: ch1, turn your work. Sc2tog in the first 2 stitches, sc in the next 13 sc, sc2tog in the last two stitches (15).
Row 12: ch 1, turn your work. Sc in every stitch across (15).
Row 13: ch1, turn your work. Sc2tog in the first 2 stitches, sc in the next 11 sc, sc2tog in the last two stitches (13).
Row 14: ch1, turn your work. Sc in every stitch across (13).
Row 15: ch1, turn your work. Sc2tog in the first 2 stitches, sc in the next 9 sc, sc2tog in the last two stitches (11).
Row 16: ch1, turn your work. Sc in every stitch across (11).
Row 17: ch1, turn your work. 2 sc in the first stitch, sc in the next 9 sc, 2 sc in the last stitch (13).
Row 18: ch1, turn your work. 2 sc in the first stitch, sc in the next 11 sc, 2 sc in the last stitch (15).
Row 19: ch1, turn your work. 2 sc in the first stitch, sc in the next 13 sc, 2 sc in the last stitch (17).
Row 20-21: ch 1, turn your work, sc in every stitch across (17).
Row22: ch1, turn your work. Sc2tog in the first 2 stitches, sc in the next 13 sc, sc2tog in the last two stitches (15).
Row 23: ch1, turn your work. Sc2tog in the first 2 stitches, sc in the next 11 sc, sc2tog in the last two stitches (13).
Row 24: ch1, turn your work. Sc2tog in the first 2 stitches, sc in the next 9 sc, sc2tog in the last two stitches (11).
Row 25: ch1, turn your work. Sc in every stitch across (11).
The ears
Row 26: ch1, turn your work. Sc in the next 5 stitches (5).
Row 27: ch1, turn your work. 2 sc in the first stitch, sc in the next 3 stitches, 2 sc in the last stitch (7).
Row 28-31: ch1, turn your work. Sc in every stitch across (7).
Row 32: ch1, turn your work. Sc2tog in the first 2 stitches, sc in the next 3 stitches, sc2tog in the last 2 stitches (5).
Row 33: ch1, turn your work. Sc2tog in the first 2 stitches, sc in the next stitch, sc2tog in the last 2 stitches (3).
Row 34: ch1, turn your work. Sc2tog in the first 2 stitches, sc in the last stitch (2).
Bind off and weave in your end. Repeat from row 26 to create the other ear.
Make 2 of these.
Place right sides together and sc the body and ears together. Leave the bottom open. Turn your work right side out. Fill the bunny with fiberfill or scraps of yarn. If your bunny is filled then you can close the bottom with sl st or sew it.
Sew a cross with the yarn needle and black yarn in the middle of the head. You can make 2 eyes with the black yarn if you like.
Make a small pompom for the tail and sew it to the back of your bunny.
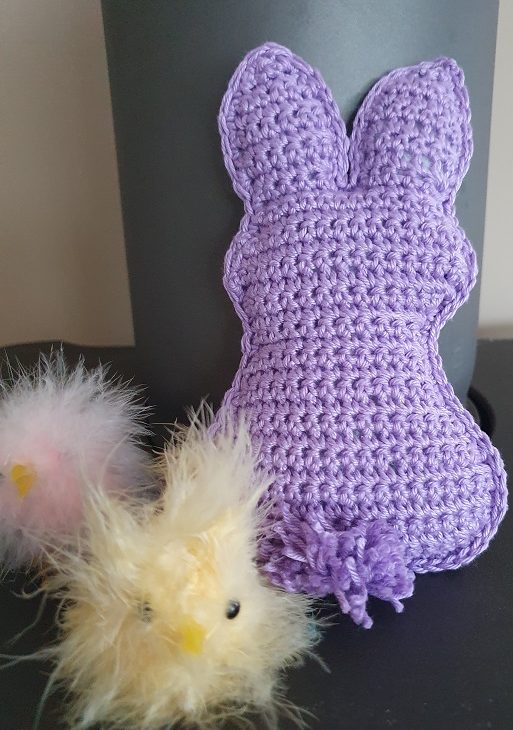
And now your cute little Easter Bunny is done.


You can also find me on: